
Image SEO: How to Optimize Images for Google and Faster Pages
Images make blog posts easier to understand and more enjoyable to read. They can also bring extra traffic through Google Images and visual search results — but only if they are optimized. Unoptimized images are also one of the top reasons websites load slowly. Here is how to get image SEO right.
Why Image SEO Matters
- Extra traffic from Google Images and image results in regular search.
- Faster pages, which improves user experience and Core Web Vitals.
- Accessibility for visually impaired readers using screen readers.
- Better understanding — images help Google understand your page’s topic.
1. Use Original, Relevant Images
Original photos, screenshots, charts and diagrams add unique value that stock photos cannot. They show real experience, which both readers and search engines appreciate. If you use stock images, choose ones that are clearly relevant, and always respect image licenses.
2. Choose the Right File Format
- WebP – modern format with excellent compression; the best default for most images.
- AVIF – even smaller files, with growing support.
- JPEG – good for photos when WebP is not available.
- PNG – for graphics that need transparency or sharp text; files are larger.
- SVG – for logos and simple icons.
3. Resize Before Uploading
Uploading a 5,000-pixel photo to display at 800 pixels wastes bandwidth. Resize images close to their maximum display size — for most blog layouts, 1,200–1,600 pixels wide is enough. WordPress automatically creates smaller versions and serves the right size to each device using responsive images.
4. Compress Images
Compression reduces file size with little visible quality loss. Use a plugin that compresses on upload, or tools like Squoosh before uploading. Aim to keep most blog images under about 150–200 KB.
5. Write Descriptive File Names
Rename files before uploading. homemade-sourdough-bread-crust.jpg tells Google far more than DSC_0042.jpg. Use lowercase words separated by hyphens.
6. Write Helpful Alt Text
Alt text (alternative text) describes an image for people who cannot see it and helps search engines understand it.
- Good: “Golden sourdough loaf cooling on a wire rack”
- Bad: “bread”
- Keyword-stuffed (avoid): “sourdough bread recipe best sourdough easy sourdough”
Describe what the image shows in a short sentence. Include a keyword only when it naturally describes the image. Purely decorative images can have empty alt text.
7. Place Images Near Relevant Text
Google uses the surrounding text, headings and captions to understand an image. Put images next to the content they illustrate, and use captions where they add useful context — captions are among the most-read text on a page.
8. Lazy-Load Below-the-Fold Images
Lazy loading delays offscreen images until the user scrolls near them. WordPress does this automatically. However, the main image at the top of a page should load immediately, because it is often the element that determines your Largest Contentful Paint.
9. Set Image Dimensions
Width and height attributes let the browser reserve space for images before they load, preventing layout shifts. WordPress adds these automatically for images inserted through the editor.
10. Use a Featured Image for Every Post
Featured images appear on your homepage, category pages and when posts are shared on social media. A consistent, branded style makes your site look professional and helps your content stand out. Large, high-quality images can also help your content appear in Google Discover.
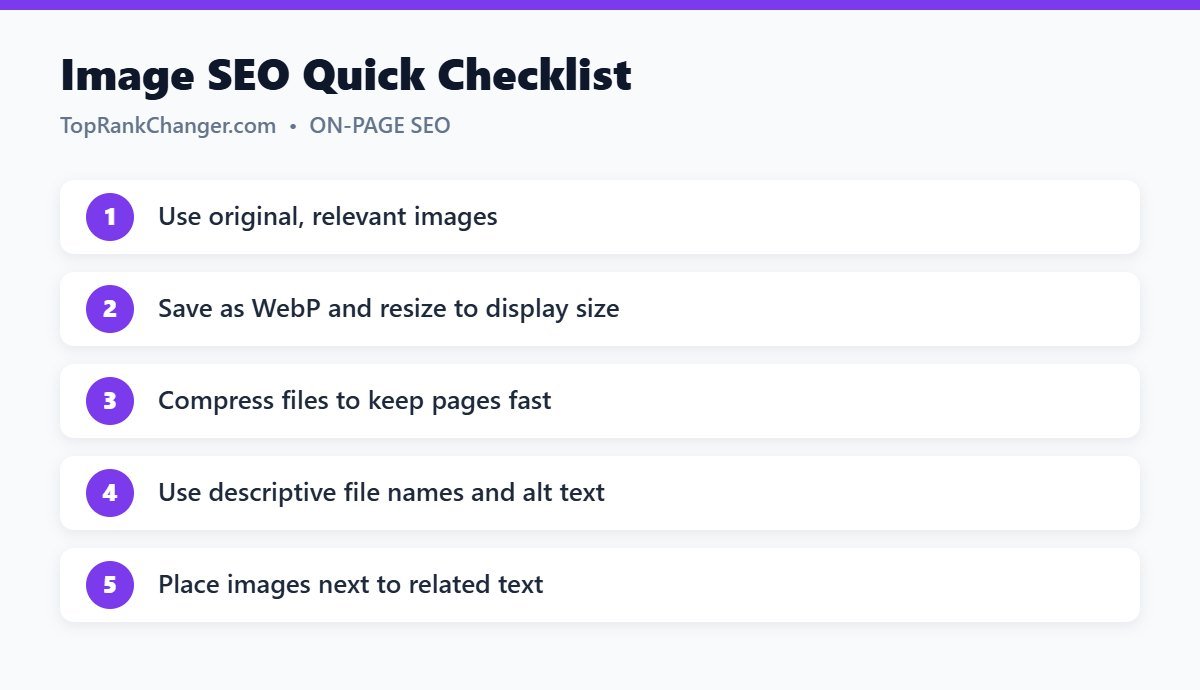
Quick Image SEO Checklist
- Relevant, original image
- WebP or another modern format
- Resized to display size
- Compressed
- Descriptive file name
- Helpful alt text
- Placed near related text
Final Thoughts
Image SEO takes only a minute per image once it becomes a habit, yet it improves speed, accessibility and search visibility across your whole site. Add it to your publishing routine along with our on-page SEO checklist.